How-to: Yamaha Outboard Fuel Filter Replacement
Whether you’re an experienced boat owner or a budding enthusiast, ensuring your Yamaha outboard engine runs smoothly is paramount to a successful and enjoyable journey on the water. One of the key components that plays a crucial role in maintaining the engine’s performance is the primary fuel filter. Responsible for safeguarding your engine from harmful contaminants and debris, regular Yamaha outboard fuel filter replacement can make all the difference in your engine’s performance and longevity.
This comprehensive guide will walk you through a step-by-step process to change a Yamaha outboard primary fuel filter.
In the video embedded within this article, the primary fuel filter change was performed on a Yamaha F115 outboard. However, the video and the step-by-step instructions included within this article apply to:
- F50
- F60
- F75
- F90
- F115
What You’ll Need for the Job
What’s the Purpose of Your Yamaha Outboard Primary Fuel Filter?
The Yamaha outboard primary fuel filter is pivotal in maintaining your boat’s performance. Here’s a closer look at its purpose:
- Filtering Impurities: The primary job of the fuel filter is to strain out any dirt, debris, or other contaminants in the fuel before it reaches the engine. A properly working filter prevents potential damage and maintains the engine’s optimal performance.
- Maintaining Fuel Efficiency: By ensuring only clean fuel enters the engine, the fuel filter aids in maintaining the fuel efficiency of your Yamaha outboard motor.
- Preventing Engine Damage: The fuel filter can prevent severe damage to the engine by blocking larger particles that could damage the engine’s internal components.
Signs That Your Yamaha Outboard Primary Fuel Filter Needs Changing
Timely Yamaha outboard primary fuel filter replacement is crucial for maintaining your boat’s engine health. Here are some key signs that your fuel filter may need to be changed:
- Engine Stalls or Misfires: If your engine is frequently stalling or misfiring, it could be a sign that your fuel filter is clogged and preventing sufficient fuel from reaching the engine.
- Poor Fuel Economy: A noticeable decrease in your boat’s fuel efficiency can indicate a problem with your fuel filter. When clogged, the engine has to work harder to pull fuel, leading to increased fuel consumption.
- Difficulty Starting the Engine: If your engine is hard to start, it could mean the fuel filter is clogged, preventing the proper amount of fuel from reaching the engine.
- Loss of Engine Power: If you’re experiencing a loss in engine power, especially during acceleration, this could indicate that your fuel filter is due for a replacement.
How Often Should the Yamaha Outboard Primary Fuel Filter Be Replaced?
Needed Yamaha outboard fuel filter replacement intervals can vary based on several aspects, such as usage, fuel quality, and specific recommendations for your Yamaha model.
For frequently used boats, replacing the primary fuel filter annually or every 100 hours of operation is advisable, whichever occurs first. Fuel quality can also influence this schedule. If you tend to operate your boat in areas where the fuel quality is suspect, you might need to consider more frequent fuel filter replacements to prevent potential engine damage. Lastly, it’s always important to consult your Yamaha owner’s manual. This resource provides model-specific guidelines and might suggest a different maintenance schedule for your primary fuel filter.
How to Change a Yamaha Primary Fuel Filter
To perform this job, you’ll need:
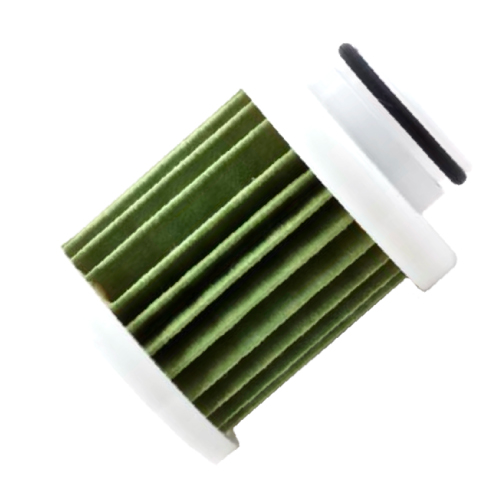
- Replacement primary fuel filter
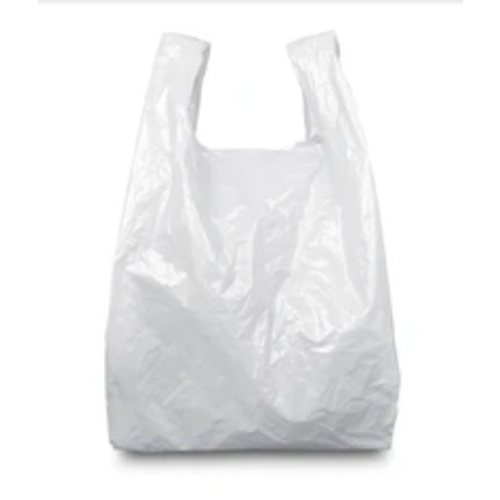
- Container or bag for used fuel filter
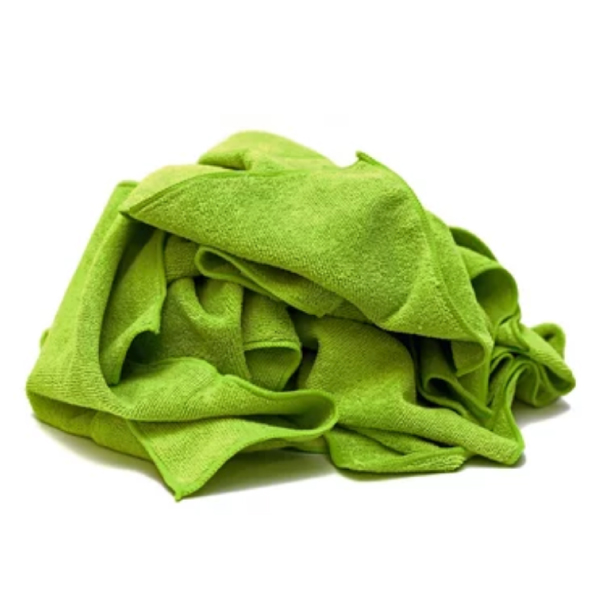
- Clean rags
Step-by-Step Guide for Changing Your Yamaha Fuel Filter
Changing your Yamaha outboard primary fuel filter is straightforward if you follow the proper steps:
- Inspect the Fuel Filter: Look closely at the small black float in the filter. If it’s on the bottom, that indicates no water in the fuel, which is a good sign.
- Remove the Water Sensor Plug: Gently pull to remove the plug.
- Prepare the Housing for Filter Removal: Manually loosen the fuel filter housing from the top cap. It’s best not to use a wrench on the top cover, as it could crack the housing. Be cautious when removing the housing to make sure that an o-ring does not stick inside the housing. If not seated properly when you put it back, it could cause a fuel leak.
- Drain the Fuel: Drain fuel from the fuel filter housing before removing the filter completely. Examining the drained contents can help you check for any water in the fuel. Clear fuel without droplets is an indicator that everything is in good shape.
- Check the Fuel Type: You can tell the fuel type by the color of the fuel element. Green indicates non-ethanol fuel, while a brown color suggests a heavy content of ethanol.
- Remove the Old Fuel Filter: Carefully remove the old fuel filter.
- Replace the Fuel Filter: Install a new fuel filter into the housing.
- Reattach the Housing: Thread the housing back onto the top cover. If you use ethanol fuel, threading the new fuel filter back on might be more difficult as the ethanol can soak into the plastic threads, making it harder to tighten. Using a bit of marine grease can ease this process.
- Reconnect the Water Sensor Plug: Remember to plug the water sensor back in. A working sensor is crucial as it alerts you if water gets into the system, which could cause the engine to misfire or vibrate erratically.
Wrapping Up: Maintaining a Healthy Fuel System
Maintaining the health of your Yamaha Outboard engine extends beyond regular use—it also involves timely maintenance tasks such as replacing the primary fuel filter. Recognizing the signs of a worn-out filter, knowing when to replace it, having the right tools for the job, and carefully following the detailed steps can ensure a successful filter change.
A properly working filter optimizes your boat’s performance and enhances your engine’s durability and lifespan. Stay in tune with your Yamaha outboard’s needs and enjoy a seamless, efficient boating experience. PartsVu is proud to offer fuel filters and the full range of other Yamaha outboard parts needed to maintain your engine for years to come.
**Important Note**
Always consult your engine’s owner’s manual for instructions and information specific to your engine. For clarification on changing a fuel filter, consult a Yamaha-certified mechanic.

PartsVu and Platinum Mobile Marine Partnership
Huge thanks go to Frank Cutri, the owner and operator of Platinum Mobile Marine, a mobile mechanic service serving the Lee County, Florida area, for partnering with PartsVu on the Boat Maintenance Matters series. Together, we are working hard to build a library of step-by-step instructions on common outboard motor repair and maintenance tasks.
The post How-to: Yamaha Outboard Fuel Filter Replacement appeared first on PartsVu Xchange.